
TL;DR

Get business pricing on tools and workshop supplies
- Business-only prices and quantity discounts
- Tax-exempt purchasing
- Multiple users, one account, clear invoices
Extending a short tool belt involves measuring, choosing strong materials, and attaching extensions securely. Properly done, it boosts comfort and capacity without risking safety or durability.
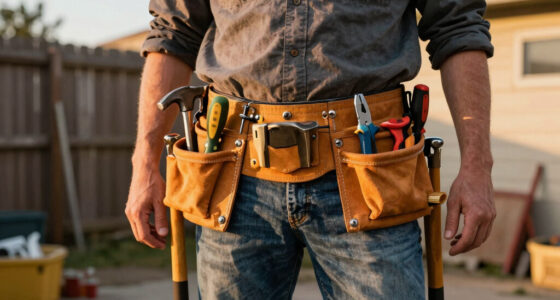
It’s a familiar scene: you’re on a job, tools in hand, and your belt just isn’t long enough. Maybe it rides up, or you’re constantly reaching to grab what’s just out of reach. Extending a short tool belt isn’t just about convenience — it’s about making your workday safer and more comfortable.
In this guide, you’ll learn how to add length securely, using common materials and simple steps. Whether you want a quick fix or a more durable upgrade, I’ll walk you through real-world tips so your gear works as hard as you do.
Always measure carefully before adding extension materials to ensure a perfect fit.
Use heavy-duty nylon webbing or reinforced fabric for secure, durable extensions.
Attach extensions with strong rivets or heavy-duty sewing, double-checking every point.
Test the belt with tools loaded to ensure stability before use in active work.
For frequent adjustments, consider upgrading to a professionally designed adjustable or modular belt.
How to Extend a Short Tool Belt
A secure extension can improve comfort, tool access, and weight distribution. The job comes down to three things: measure precisely, choose load-ready material, and build an attachment that stays stable under real working movement.
TL;DR: Use heavy-duty nylon, reinforced fabric, or suitable leather; attach it with reinforced stitching or correctly set rivets; then test the loaded belt before returning to work.
A few extra inches can change the whole workday.
A short belt pulls tools out of their natural reach zone. That can lead to twisting, overreaching, uneven loading, fatigue, and dropped tools.
Reduce awkward reach
A better fit keeps frequently used tools closer to the hands, reducing repeated bending, stretching, and torso rotation.
Spread the weight
Correct belt length lets the waist and hips carry the load more evenly instead of concentrating pressure at one point.
Control every pouch
Secure positioning helps prevent shifting, snagging, and unstable tools when walking, climbing, bending, or kneeling.
Measure the working position—not the label.
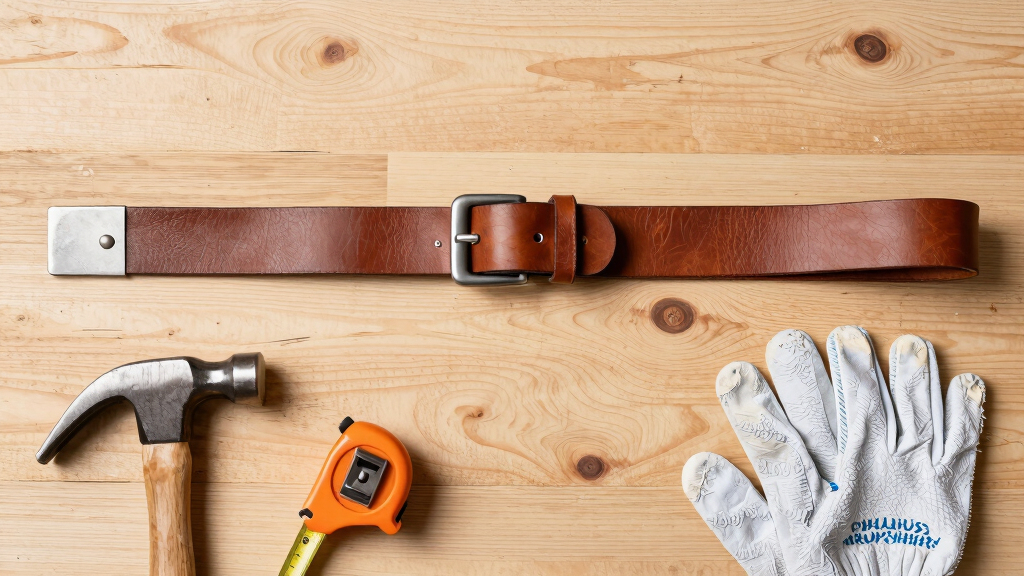
Use a flexible tape at the exact height where the belt normally sits. Keep it level, comfortably snug, and account for work clothing and loaded movement.
Add a small comfort allowance, then include enough overlap for stitching or rivets. Mark both attachment points with chalk or a fabric marker before cutting.
Plan slightly long, then trim.
Overestimating slightly is safer than coming up short. Confirm that the planned extension still keeps the buckle, pouches, and loops in usable positions.
Build it in five deliberate steps.
Clean cuts and even alignment matter as much as material strength. Every connection should remain flush, tight, and free from snag points.
Confirm the final fit, comfort allowance, and attachment overlap.
Make a clean, square cut and seal or finish edges to resist fraying.
Position the extension so load stays even and the belt does not twist.
Use reinforced stitching, correctly set rivets, or compatible hardware.
Walk, bend, kneel, and reach with the usual tools before active use.
Match the extension to the load and environment.
Strength alone is not enough. Consider flexibility, moisture exposure, repairability, edge stability, and compatibility with the original belt.
Nylon webbing
Strong, flexible, moisture-resistant, and easy to pair with reinforced sewing or rivets.
Reinforced fabric
Easy to shape and sew, making it practical for fabric or canvas belts and future repairs.
Leather
Durable and professional-looking, but less flexible and best attached with leather-rated tools and hardware.
Choose the route that fits how often your needs change.
A DIY extension is economical and customizable. An adjustable or modular system costs more but offers built-in fit changes and manufacturer-designed load management.
| Feature | Extend your belt | Adjustable or modular belt |
|---|---|---|
| Upfront cost | ✓Low: materials and basic tools | ~Moderate to high |
| Durability | ~Depends on material and workmanship | ✓Designed for long-term use |
| Flexibility | ~Customizable, but requires modification | ✓Built-in adjustment |
| Safety | ~Relies on secure attachment and testing | ✓Designed around a secure fit |
| Ease of repair | ✓Can often be repaired or modified again | ✗May require brand-specific parts |
The fit change is small
You need a modest, mostly permanent extension and have the tools and skills to make a secure connection.
Your setup changes often
Different clothing, loads, users, or tasks require frequent adjustment and pouch reconfiguration.
The load is safety-critical
Ask a qualified repair professional if you are uncertain about stitching, leatherwork, rivet selection, or load capacity.
Every safe extension follows the same chain.
Do not judge the modification while the belt is empty. The real test is whether the full system stays comfortable, balanced, and secure under its normal load.
Body measurement
Establishes the true working circumference and wear position.
Fit allowance
Adds room for movement, layers, and loaded belt tension.
Material rating
Matches the extension to load, weather, flexibility, and repair needs.
Attachment quality
Prevents slipping, twisting, tearing, snagging, and sudden detachment.
Loaded validation
Confirms that the complete belt remains stable during real movement.
Why Extending Your Tool Belt Matters for Comfort and Safety
When your tool belt is too short, you’re forced to bend, stretch, or carry tools awkwardly. This not only causes immediate discomfort but can lead to longer-term musculoskeletal issues if repeated frequently. Moreover, improper reach can increase the risk of dropping tools, which could cause injury or damage to your workspace. A properly extended belt distributes weight more evenly across your waist and hips, reducing strain on your back and shoulders. It also allows quicker access to tools, minimizing unnecessary movements that could lead to accidents. Overall, extending your belt improves ergonomic safety and operational efficiency, which are critical for both safety and productivity on the job.
For example, a carpenter with a 36-inch belt trying to reach a nail gun or tape measure in the back of the pouch might overreach, risking a slip or strain. Extending the belt by just a few inches can make a significant difference—keeping your tools within easy reach, reducing fatigue, and helping you work more safely and efficiently.
According to an anonymous researcher, a well-fitted tool belt can improve productivity by 15%, simply by reducing unnecessary movement and discomfort. This highlights how small modifications, like extending your belt, can have outsized benefits in safety and efficiency.
heavy-duty nylon webbing for tool belt extension
As an affiliate, we earn on qualifying purchases.
As an affiliate, we earn on qualifying purchases.
How to Measure and Plan Your Extension Correctly
Accurate measurement is the foundation of a successful extension. An improper fit—either too tight or too loose—can compromise safety and comfort, so taking the time to measure carefully is essential. Use a flexible tape measure and wrap it snugly around your waist at the height where you normally wear your belt. Make sure it’s level and comfortable, not too tight or loose. Add 2-3 inches for extra comfort and mobility, especially if you carry bulky tools or want some slack for movement. If you plan to add multiple extension pieces, consider how each segment will connect and ensure the total length accommodates your working posture and reach.
For example, if your current belt is 36 inches and you want to add 4 inches, plan for a total extension of about 40 inches. Remember, it’s better to add slightly more than you think you need—this can be trimmed later if necessary. Overestimating slightly ensures you won’t be left short if your measurements shift slightly during movement or if your load increases.
Pro tip: mark the extension points with chalk or fabric markers before attaching, so you know exactly where to sew or rivet. Taking precise measurements and planning carefully minimizes the risk of having to redo the extension, saving time and ensuring a better fit that won’t slip or cause discomfort during use.
reinforced fabric for tool belt upgrade
As an affiliate, we earn on qualifying purchases.
As an affiliate, we earn on qualifying purchases.
Choosing the Right Materials for a Strong, Lasting Extension
Durability isn’t just about choosing tough materials; it’s about understanding how those materials perform under real working conditions. Heavy-duty nylon webbing, reinforced fabric, and leather strips are popular because they combine strength with flexibility. Nylon webbing, for instance, is resistant to fraying and tearing, which means your extension can withstand daily abuse without degrading quickly. Leather, while more expensive and less flexible, offers excellent durability and a professional appearance, especially for heavy-duty applications. Avoid flimsy fabrics because they tend to stretch, fray, or tear under load, compromising safety and longevity.
Imagine attaching a 10-inch nylon strap with sturdy metal rivets—this creates a flexible yet robust extension that can handle the weight and movement of tools without slipping or breaking. When choosing your materials, consider the load you’ll carry, environmental exposure (like rain or mud), and the need for future repairs. A well-chosen material not only extends your belt’s life but also ensures safety by maintaining secure attachment points, reducing the risk of accidental detachment or failure during critical moments.
According to BestBeltShop, nylon webbing combined with rivets or heavy-duty sewing offers the best balance of strength, flexibility, and ease of repair. Investing in quality materials now saves you time and money in the long run, preventing frequent replacements or dangerous failures.
adjustable tool belt with extension
As an affiliate, we earn on qualifying purchases.
As an affiliate, we earn on qualifying purchases.
Step-by-Step: How to Attach Your Extension Safely and Securely
- Measure and cut your extension material to the planned length, ensuring clean, straight cuts to prevent fraying or weak points.
- Position it where you want the extension on your existing belt, aligning it properly to distribute weight evenly and avoid uncomfortable pinching or twisting.
- Use heavy-duty sewing with reinforced stitches or rivets to attach the extension. If sewing, double-stitch or use a zigzag pattern to strengthen the connection. If riveting, ensure rivets are properly set and flush to prevent snagging or tearing.
- Double-check the attachment points — they should be tight, even, and free of slack that could cause shifting or detachment during use.
- Try on the belt and load it with tools to test stability. Walk around, bend, and simulate working motions to identify any weak spots or discomfort. Adjust or reinforce as needed before returning to full work.
For example, sewing a nylon strap into the belt’s existing loops or riveting it to the back creates a seamless extension that won’t slip or come loose. Proper attachment techniques are crucial because poorly secured extensions can shift, cause imbalance, or detach unexpectedly, risking injury or tool loss. Always prioritize safety by thoroughly inspecting your work and testing under load before heavy use.
Warning: always wear gloves and eye protection when working with rivets or cutting tools. Safety first.
As an affiliate, we earn on qualifying purchases.
Comparison Table: Extending vs. Buying an Adjustable or Modular Belt
| Feature | Extending Your Belt | Buying Adjustable/Modular Belt |
|---|---|---|
| Cost | Low (materials + tools) | Moderate to high |
| Durability | Depends on materials & attachment quality | Designed for longevity, often more durable |
| Flexibility | Customizable, but requires effort & skill | Built-in adjustability, no modification needed |
| Safety | Depends on proper attachment | Designed for safe, secure fit |
| Ease of Repair | Can be easily fixed or modified later | Limited, unless modular design allows adjustments |
Tips to Keep Your Extension Secure and Long-Lasting
- Always double-stitch or rivet for strength, ensuring all attachment points are reinforced to withstand daily use without loosening or failing.
- Use high-quality, weather-resistant materials to prevent deterioration from exposure to moisture, UV rays, and dirt—these factors can weaken weaker materials over time.
- Test the belt with tools before full use, simulating real working conditions to identify potential weak spots or points of failure.
- Maintain regular checks—tighten rivets, re-sew loose areas, and replace worn materials to prevent sudden failure during work.
- Consider adding a protective layer or coating—such as waterproof sealant or fabric protector—to extend the lifespan of your extension and maintain safety and appearance.
For example, sealing rivets with a bit of waterproof adhesive can prevent rust or corrosion, especially in humid environments. Regular maintenance ensures your extension remains reliable and safe, avoiding unexpected breakdowns that could compromise your safety or damage your tools.
When to Upgrade to a Fully Adjustable or Modular Belt
If you find yourself frequently adjusting or extending your belt, it’s a sign that a permanently adjustable or modular system might be more effective. These belts come with built-in features like sliding buckles, quick-release clasps, and attachable pouches that allow quick customization without DIY modifications. The tradeoff is often a higher initial cost but increased reliability and safety. For example, a carpenter who often switches between small and large tool sets benefits from a modular belt that can expand or contract instantly, saving time and reducing the risk of improper fitting or failure. Investing in a quality adjustable belt ensures consistent safety standards and reduces the chance of accidental detachment or imbalance during work. Over time, this can lead to improved safety, efficiency, and peace of mind, especially when working in demanding environments where quick adjustments are necessary.
According to industry experts, investing in a professionally designed adjustable belt can save you time and reduce safety risks over makeshift extensions, providing a safer, more reliable working setup.
Frequently Asked Questions
Can I safely extend my existing tool belt myself?
Yes, if you use strong materials and attach them securely with rivets or heavy-duty sewing. Always test thoroughly before heavy use.What materials are best for extending a tool belt?
Heavy-duty nylon webbing, reinforced fabric, or leather strips are best for durability and safety. Avoid flimsy fabrics.Should I buy a new adjustable or modular belt instead of extending?
If you often need to change your belt length, investing in an adjustable or modular belt is safer, more convenient, and more reliable.How do I measure the right extension length?
Wrap a flexible tape measure around your waist where you wear the belt. Add 2-3 inches for comfort, and plan for extra if carrying bulky tools.Are there risks to modifying my tool belt?
Improper modifications can compromise safety and durability. Use strong, secure attachment methods and test thoroughly.Conclusion
Extending a short tool belt isn’t complicated — it’s about choosing the right materials, measuring accurately, and attaching securely. A well-done extension can make your workday safer, more comfortable, and more productive.
Remember: if frequent adjustments are needed, a purpose-built adjustable or modular belt might save you time and hassle in the long run. Your tools and back will thank you for it.
Halloween Picks
halloween
As an affiliate, we earn on qualifying purchases.