
TL;DR

Get business pricing on tools and workshop supplies
- Business-only prices and quantity discounts
- Tax-exempt purchasing
- Multiple users, one account, clear invoices
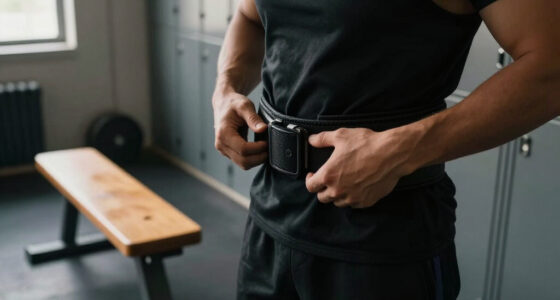
Wipe down your lifting belt after workouts, avoid soaking or machine washing unless allowed, and store it in a dry, ventilated space. Regular care keeps it supportive and odor-free longer.
Imagine wrapping a sweaty, chalk-dusted lifter around your waist every week and ignoring how it’s holding up. Over time, sweat, dirt, and bacteria build up, turning your trusty belt into a source of odor and skin irritation. Proper care isn’t just about hygiene; it preserves the support and shape you rely on during heavy lifts. In this guide, you’ll learn straightforward, real-world methods to keep your belt clean, fresh, and ready for the next set.
Whether you have leather, nylon, or foam-backed belts, the right cleaning routine can prevent odors, mold, and material breakdown. Plus, good storage habits keep your belt supportive and wrinkle-free. Ready to extend your belt’s life? Let’s get into the practical steps you need.
Wipe down your belt after every session and air it out to prevent odors and mold.
Leather belts need gentle cleaning—avoid soaking or high heat; use conditioner sparingly.
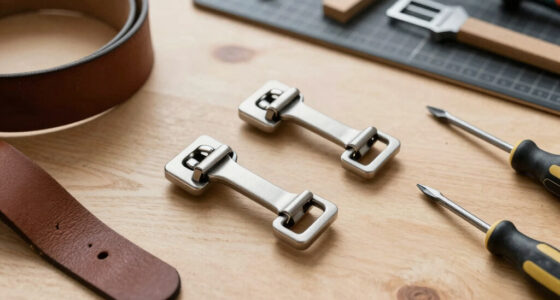
Inspect hardware regularly—loose screws or damaged buckles threaten safety and support.
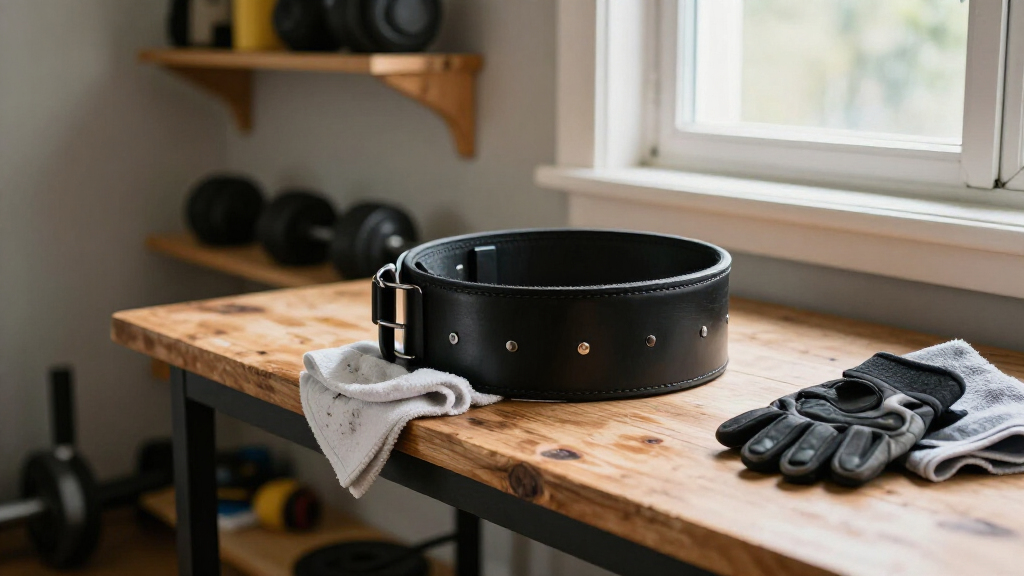
Store belts in a cool, dry, ventilated space, laid flat or in a loose curve, not tightly rolled.
Replace your belt if it shows signs of significant wear or damage—safety comes first.
How to Clean and Store a Lifting Belt
A belt collects sweat, skin oils, chalk, and bacteria every time you train. A fast cleaning routine and thoughtful storage keep it fresh, preserve its shape, and protect the support you depend on under load.
Remove sweat, chalk, and surface debris.
Trapped moisture drives odor and mold.
Excess water can stiffen or warp the belt.
Consistent care can extend useful service.
The six rules that prevent most damage
Always check the manufacturer’s care label first. Material-safe care protects both performance and warranty coverage.
Read the care label
Machine washing, disinfectants, and conditioners are only safe when the manufacturer explicitly permits them.
Remove fresh residue
Wipe sweat promptly and brush chalk from seams, closures, buckle teeth, and lever mechanisms.
Use less water
Choose a dry or barely damp cloth whenever possible, especially for leather, suede, foam, and laminated belts.
Let air do the work
Dry the open belt naturally. Keep it away from tumble dryers, radiators, heaters, hot cars, and strong sunlight.
Clear the hardware
Debris can jam levers, weaken hook-and-loop grip, trap moisture, and accelerate corrosion around metal parts.
Inspect, do not disguise
Cleaning is preventive care. It cannot restore cracked leather, torn fabric, failed stitching, or damaged hardware.
Match the method to the material
The wrong cleaning method can permanently change texture, rigidity, adhesives, or supportive structure.
| Material | Recommended cleaning | Drying method | Use water? | Avoid |
|---|---|---|---|---|
| Leather | ✓ Dry or slightly damp cloth; tiny amount of mild soap or leather cleaner for stubborn grime. | ✓ Air-dry flat or in its natural curve. | ~ Minimal moisture only. | ✗ Soaking, high heat, excess conditioner. |
| Suede | ✓ Soft suede brush and suede-specific cleaner. | ✓ Natural airflow, away from sunlight. | ✗ Avoid routine wet cleaning. | ✗ Conventional leather conditioner. |
| Nylon / Fabric | ✓ Hand-wash with lukewarm water, mild detergent, and gentle brushing. | ✓ Air-dry fully with the belt open. | ✓ Moderate, label permitting. | ✗ Bleach and harsh detergents. |
| Neoprene / Foam | ✓ Wipe with diluted mild soap; remove residue with a damp cloth. | ✓ Air-dry without compression. | ~ Surface cleaning only. | ✗ Wringing, twisting, soaking, heat. |
The post-workout care chain
Five connected actions stop moisture and debris before they become odor, mold, corrosion, or structural damage.
Remove
Take the belt out of the gym bag immediately after training.
Wipe
Lift away sweat, oils, dirt, and chalk with a suitable cloth or brush.
Inspect
Check stitching, edges, screws, rivets, prongs, and closures.
Air-dry
Leave the belt open until every layer and metal component is dry.
Store
Keep it ventilated, flat or loosely curved, and free from pressure.
Protect the hardware and the shape
A belt is a system: clean material cannot compensate for a loose lever, bent prong, weak closure, or permanent crease.
Keep every connection secure
Use a dry brush around metal parts, then dry them immediately if damp cleaning was necessary.
What damages a stored belt?
Relative risk rises when moisture, heat, pressure, and poor airflow act together.
Store the fully dry belt flat, on a wide padded hanger, or in a loose natural curve inside a breathable cloth bag.
Especially across load-bearing leather.
Including edge separation and fraying.
Or stretched hook-and-loop closures.
Bent prongs, rust, sharp edges, or failed locks.
Loss of rigidity can reduce bracing support.
Shrinkage or deformation signals replacement.
Follow These Basic Cleaning Principles to Keep Your Belt Fresh
The first rule of caring for your lifting belt: follow the manufacturer’s instructions. Most belts are built to last, but improper cleaning can damage the material or void warranties. After every heavy sweat session, wipe it down with a cloth or brush to remove surface dirt and chalk. Use as little moisture as possible, especially on leather—excess water can stiffen or warp it. Air-drying is essential; never toss your leather or foam belt into a dryer or near a heater.
Keep the hardware, hook-and-loop fasteners, and stitching free of chalk and debris. This prevents hardware from sticking or corroding, and keeps closures working smoothly. Regular inspection for tears, loose stitching, or worn buckles is key. Remember, cleaning isn’t a fix for broken parts—it’s preventive care.
Why does this matter? Dirt and chalk can accelerate material degradation. For example, chalk can seep into seams, causing fibers to weaken over time. Moisture trapped in fabric or leather can promote mold growth or cause stiffening, reducing the belt’s flexibility and support. Regular cleaning prevents these issues, extending the life of your gear and ensuring safety during lifts.
As an affiliate, we earn on qualifying purchases.
Cleaning Different Belt Materials: What Works and What Doesn’t
Your belt’s material determines the cleaning method. Leather and suede belts need gentle handling. Use a dry or slightly damp cloth to wipe away chalk and dirt. For stubborn grime, add a tiny amount of mild soap or leather cleaner, then wipe clean with a barely damp cloth. Let it dry naturally—never soak or place near heat sources. Suede belts require a soft brush and suede cleaner, avoiding water or conditioners that can stain or change texture.
Nylon and fabric belts are more forgiving. Brush off loose chalk, then hand-wash in lukewarm water with mild detergent. Rinse thoroughly and air-dry with the belt open. Some might be machine-washable—check the label first. Always fasten hook-and-loop closures before washing to prevent lint buildup or damage.
Neoprene and foam-backed belts are delicate. Wipe with diluted mild soap, then remove residue with a damp cloth. Avoid twisting or wringing, which can damage foam layers. Never soak or expose to high heat—these weaken adhesives and laminated layers.
Why is this important? Different materials respond differently to cleaning methods, and using the wrong approach can cause irreversible damage. For example, excessive water on leather can cause it to stiffen or crack, while harsh detergents on neoprene can degrade adhesives. Knowing what to avoid helps maintain the belt’s integrity and functionality over time.
As an affiliate, we earn on qualifying purchases.
How to Clean Hardware and Keep It Working Like New
Hardware like buckles, prongs, and levers needs regular attention. Use a dry brush or soft cloth to remove chalk and dirt. After cleaning, dry metal parts immediately to prevent rust. Check screws, rivets, and moving parts for looseness or damage. Lubricate only if the manufacturer recommends it—avoid oils near the belt material or clothing. Proper hardware maintenance keeps your support secure and prevents failures during lifts.
Why care about hardware? Because it directly impacts safety and support. For instance, a loose buckle can slip or open under load, risking injury. Corrosion or dirt buildup can cause hardware to seize or malfunction. Regular inspection and cleaning ensure that the hardware functions smoothly, preventing unexpected failures and prolonging the belt’s usability. Think of hardware maintenance as the hinges on a door—neglecting them can cause the entire system to fail at the worst moment.
As an affiliate, we earn on qualifying purchases.
How to Fight Odor and Keep Your Belt Smelling Fresh
Most odors come from storing a damp belt in a closed gym bag. After workouts, remove the belt, wipe it down, and let it air out. For persistent smells, a light spray of a material-safe disinfectant can help, but test it first to avoid discoloration. Baking soda is a simple odor absorber—place it nearby in a breathable bag, not directly on the belt. Regular airing prevents mold, mildew, and that stale gym smell.
Why does odor matter? Because it’s often a sign of trapped moisture or bacterial growth. For example, if you leave your belt damp in a sealed bag, mold spores can develop, which not only causes bad smells but can also irritate your skin or cause health issues. Using baking soda or proper airing prevents these problems, ensuring your gear stays fresh and safe. Avoid harsh chemicals or fragrances that can dry out or stain the material—gentle, consistent airing and cleaning are your best defense.
As an affiliate, we earn on qualifying purchases.
Best Storage Practices to Protect Your Belt’s Shape and Support
Proper storage is simple but often overlooked. Always store your belt when fully dry and clean. Keep it in a cool, dry, ventilated spot—away from direct sunlight, heaters, or damp basements. A loose, natural curve is best—avoid tight rolling or sharp folds that cause creases. For leather belts, a breathable cloth bag is ideal; plastic containers trap moisture and promote mold.
Nylon belts tolerate rolling better, but avoid compressing them long-term. Hanging or laying flat preserves support and shape. For example, hanging a leather belt on a wide, padded hanger prevents creases. Avoid storing your belt tightly packed in a gym bag for extended periods once it’s dry—this can deform or weaken the material over time. Think of your belt’s storage like storing a valuable piece of clothing—gentle handling and proper environment keep it looking and functioning like new.
When to Replace Your Belt: Spotting the Signs of Wear and Tear
Cleaning can’t fix everything. Regularly inspect your belt for cracks, tears, loose stitching, or worn hardware. If the belt feels too soft, shrinks, or the support diminishes, it’s time to replace. Damaged buckles, bent prongs, or frayed fabric compromise safety. A worn belt can shift or open under heavy load, risking injury or failed lifts.
Why is timely replacement important? Because a belt that has lost its rigidity or support can cause instability during lifts. Imagine trying to brace yourself with a sagging support—your risk of injury increases, and your performance suffers. A good belt supports your core and helps prevent injury, but only if it’s in good condition. Recognizing the signs early ensures you maintain safety and optimal performance during training.
Latest Trends Making Belt Maintenance Easier and Safer
Today’s belts feature antimicrobial liners, moisture-wicking fabrics, and washable removable pads. Many come with adjustable mechanisms, making hardware inspection more critical. Manufacturers now provide specific care instructions per material, simplifying maintenance. Reusable cleaning cloths, low-fragrance cleaners, and repairable hardware are growing trends—making belts last longer and stay healthier.
These innovations mean you can keep your belt fresher, support better, and extend its life without much extra effort. For example, belts with antimicrobial liners inhibit bacterial growth, reducing odor and skin irritation, while washable pads make cleaning easier. Reusable cloths and low-fragrance cleaners also help maintain the belt’s integrity and appearance over time. While these advancements simplify care, consistent maintenance remains essential to ensure your belt performs optimally and lasts for many training cycles.
Frequently Asked Questions
How often should I clean my lifting belt?
Wipe or air it out after sweaty sessions. Deep-clean it only when dirt or odor builds up. Regular maintenance keeps it fresh and supportive without overdoing it.
Can I put a lifting belt in the washing machine?
Only if the care label explicitly says so. Most leather, suede, foam-backed, and leather belts should stay out of the machine—hand cleaning is safest.
How do I remove a strong smell?
Clean with a material-appropriate mild solution, dry it thoroughly, and let it air out. Persistent odors might need more thorough cleaning or replacing if the material deteriorates.
Should I condition a leather belt?
Yes, but sparingly. Use a small amount of leather conditioner if recommended. Overconditioning can weaken the belt’s support, so follow the manufacturer’s advice.
When should I replace my lifting belt?
Replace it when you notice cracks, loose stitching, or support loss—don’t wait until it fails during a lift. Safety is the priority.
Conclusion
Your lifting belt is a workhorse, but only if you treat it right. Simple routines like wiping, air-drying, and proper storage can dramatically extend its support and hygiene. Think of your belt as a trusted partner—care for it, and it’ll support you through many more heavy lifts.
Next time you finish a session, give it a quick wipe and a breath of fresh air. That small step keeps your gear fresh, your support solid, and your lifts safe. Your best lifts deserve the best care—start today.
Halloween Picks
halloween
As an affiliate, we earn on qualifying purchases.